New Porch Construction

Building a new porch?

We partner with custom home builders, designers, and contractors on awesome projects

Peaceful new three-season screen porch
    
Section I:

Process

Building a new porch for a client? The Porch Windows Direct process couldn't be easier. Here are five basic steps for creating the porch of their dreams with Porch Windows Direct.


Contact Us

If you have blueprints or drawings of the new porch design, send them our way to get the conversation rolling on options and pricing packages.
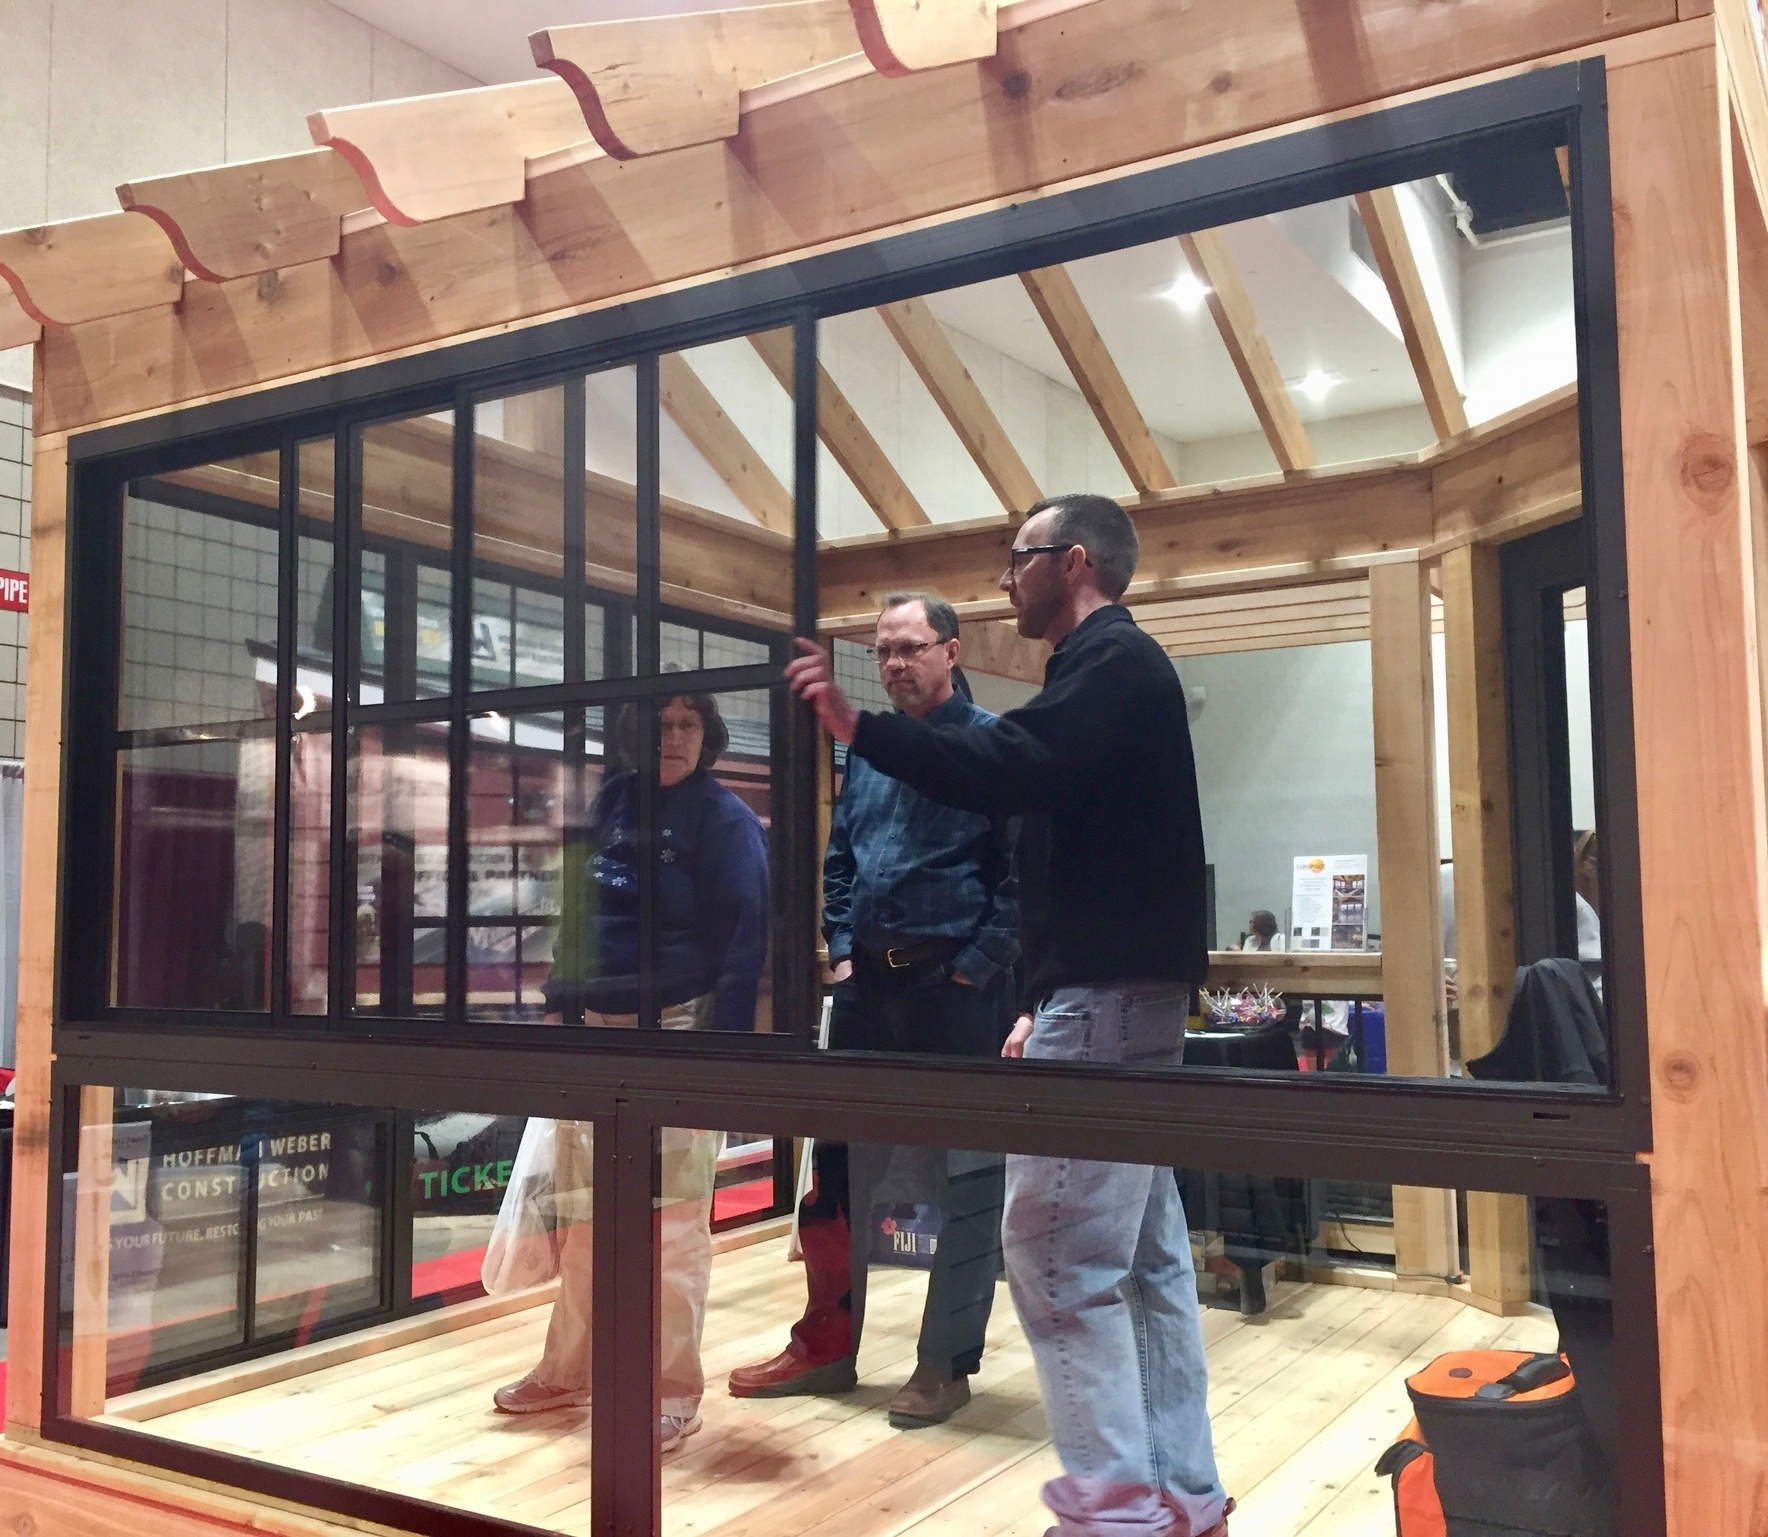
 Looking for a builder to help you get started? We can recommend local contractors who are familiar with our products. 

Cheerful couple relaxing on their couch using the laptop at home in the sitting room-1


Visit the Showroom

Following our initial conversation, we can set up a time for you and / or your client to come down to the showroom, see product displays, and to ask any further questions.

crowd-on-show-floor-50


Selections

At this point, we can finalize product selections, colors, and other options before securing time on our production schedule.
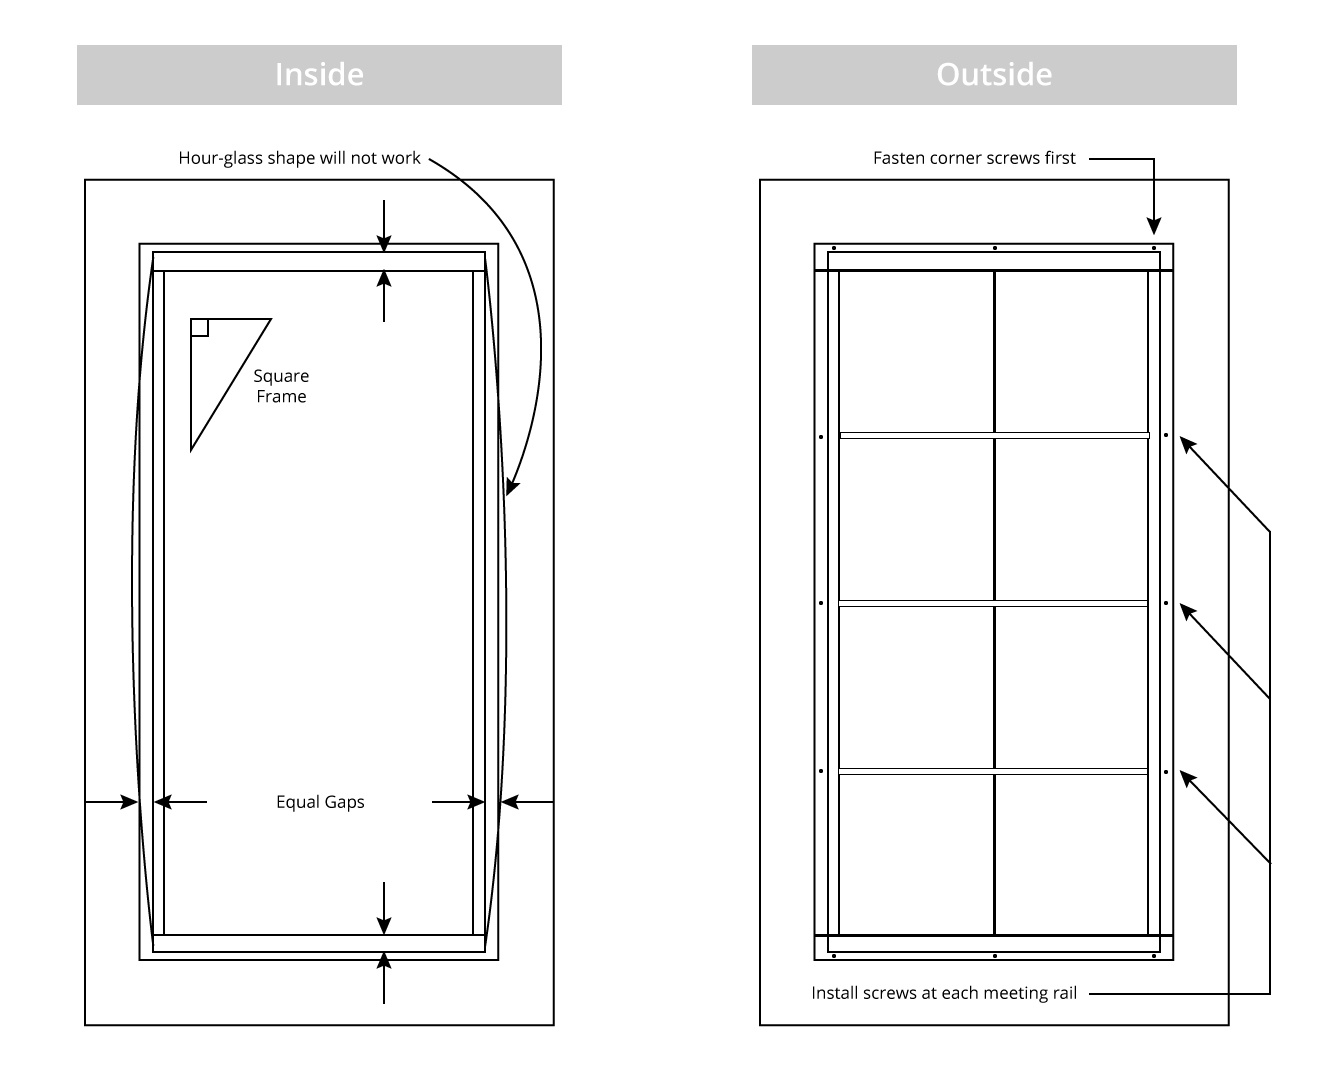
home show

Verify Measurements

Prior to installation, one of our representatives would visit your client's home to verify measurements and installation specifics. At this point, we can order your custom-made products and schedule an installation date for 4-5 weeks from the order date.
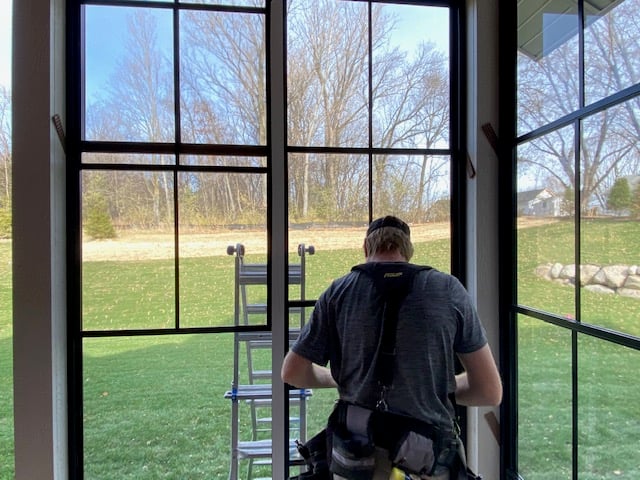
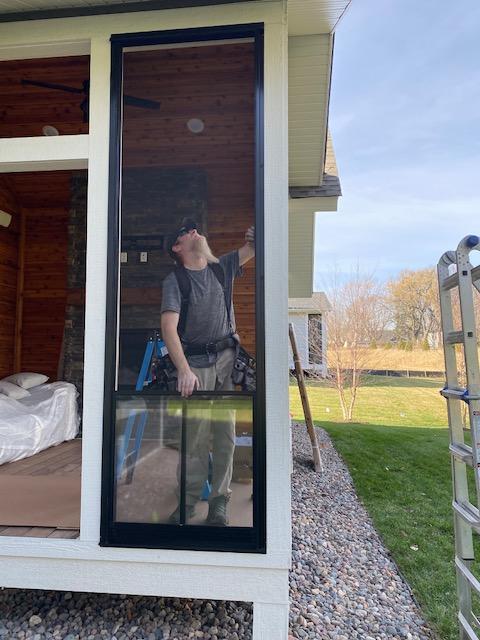
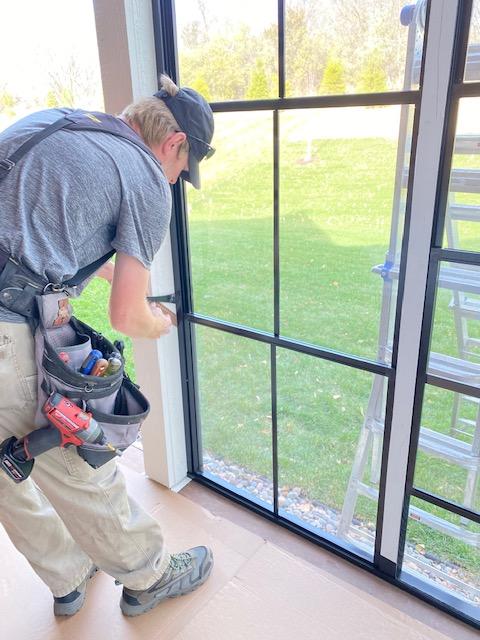
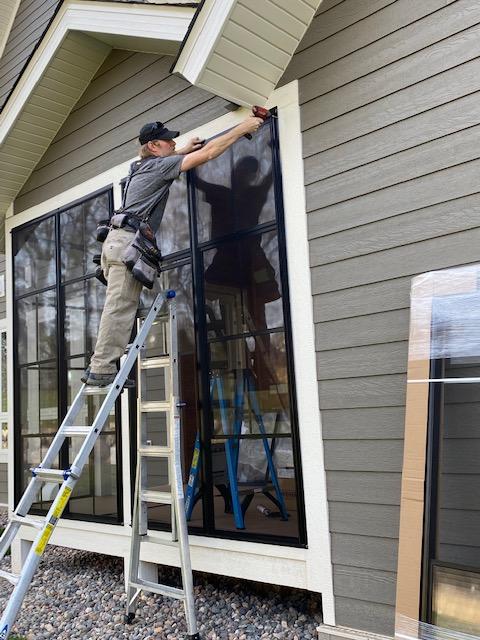
IMG_0168


Installation

The final step is installation, which is typically completed in one day. 

   
Section II:

Poweder Coated Aluminum Frame Colors

Xtend Porch Windows are available in four frame colors to match your style. 

Resources

   
Section III:

Window Sizing, Framing, & Trim Details

Single, Double, & Triple Window Units

Xtend Porch Windows have a 1” flange around the perimeter so you need to have a flat surface on the exterior that is 1” thick or greater.

Double-check on the top and bottom of the framing to make sure there is something to catch the flanges and is flush with the vertical posts.

If you are placing windows next to each other, there needs to be at least 2” of framing in between them. We do offer mulled units of double and triple wide windows up to 12’ wide that do not require framing inside that opening. 

Resources

   
Section IV:

Typical Application

Windows can be installed between posts with no interior or exterior trim. We measure these as tightly as possible to minimize gaps.

Typical deduction is 1/4” off the rough opening resulting in a 1/8” gap around all 4 sides that can be sealed with the caulking that comes with the windows.

In this case, we would install the windows with our color matched screws for a finished exterior look. 

Windows have a 2” jamb depth and 1” of frame visible inside.

Typical-Application
   
Section V:

Other Applications

Option 1

Windows can be installed onto rough framing or sheathing and then have interior trim applied after window install.

Exterior trim can be placed over top of the window flanges. In this case we will install windows with flat head screws. 

Option-01

Option 2

Windows can be installed on top of exterior trim boards and then have interior trim used.

Option-02

Option 3

Windows in-set into openings for an exterior railing to be used.

Option-3
   
Section VI:

Xtend Porch Windows Installation

Xtend porch windows have a 1” flange and are designed to be fastened through this flange into framing structure. Silicone caulking and color matched screws are provided.

  1. Remove packaging, pre-drill holes in line with window sashes, apply silicone to back of window flanges.

  2. Center and square up window frame in opening. Fasten a screw into each corner.

  3. Use shims if needed to maintain the same width in the middle of the window as in the top and bottom. An “hourglass” shape will result in window panels that are too loose.

  4. Fasten the sides with screws at each meeting rail (see Outside view diagram below).

  5. Fasten the header and sill with one screw in the middle.

  6. If needed, tighten the screen by removing the spline on one vertical side, pull the screen tight, and insert the spline. Trim off excess screen being careful not to slice inside of the splines.

  7. Operate the window panels and adjust frames if needed.
     
  8. If window panels are too loose and do not stay in place, additional tension can be gained by shimming frames closer together.
Stop Wasting Time with Bugs, Dust, Rain, & Snow

Transform Your Porch

Download icon yellow
Download a Brochure
All details included
Download
Quote icon white small
Request a Quote
Get a free, no-obligation quote
Request a Quote